
In any datacenter there is a built-in need for enterprise file and block storage services. However, in smaller branch offices or in cloud deployments, deploying a bare-metal appliance might not be feasible or economical. Never the less, file storage is almost always needed for applications and document storage.
These are the use cases where the NexentaStor Virtual Storage Appliance (VSA) shines. It’s easy to deploy and can leverage existing virtualization solutions to provide enterprise storage capabilities out of your existing infrastructure.
While I will focus this blog on a smaller configuration, keep in mind that the NexentaStor VSA solution can scale as long as you provide additional compute and storage resources. Some of our customers run NexentaStor VSAs with hundreds of terabytes of usable capacity.
Below I will walk you through how you can download and deploy “The Essential”, a NexentaStor VSA that is preconfigured with 8TiB of usable storage for File or Block services. It deploys with ease, directly into your VMware environment.
All you need is a VMware ESX server and storage for the NexentaStor VSA.
It really is this easy – Don’t be afraid to try it out in your lab!
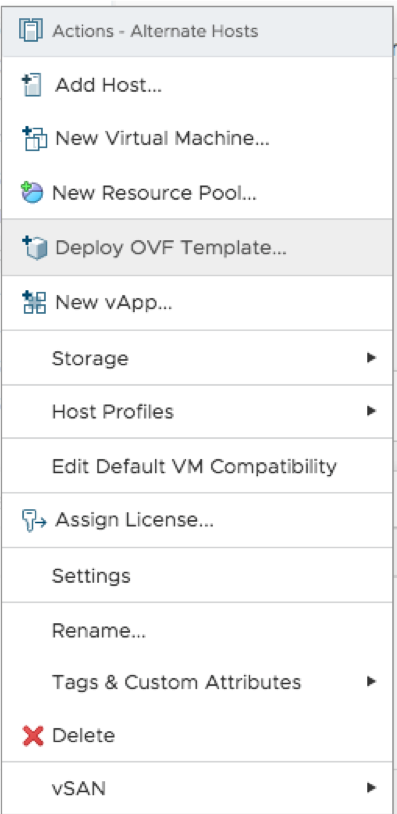
- In VMware vCenter, right click on your ESX server and choose “Deploy an OVF Template”.
vCenter is not required, but if you use the ESX host directly the screenshots may not match.
- When asked to enter the URL of the OVA/OVF enter
https://prodpkg.nexenta.com/nstor/5.2.1.8/addons/NexentaStorVSA-Essential-5.2.1.8.ovf, and if asked, click “Yes” to trust the SSL certificate.
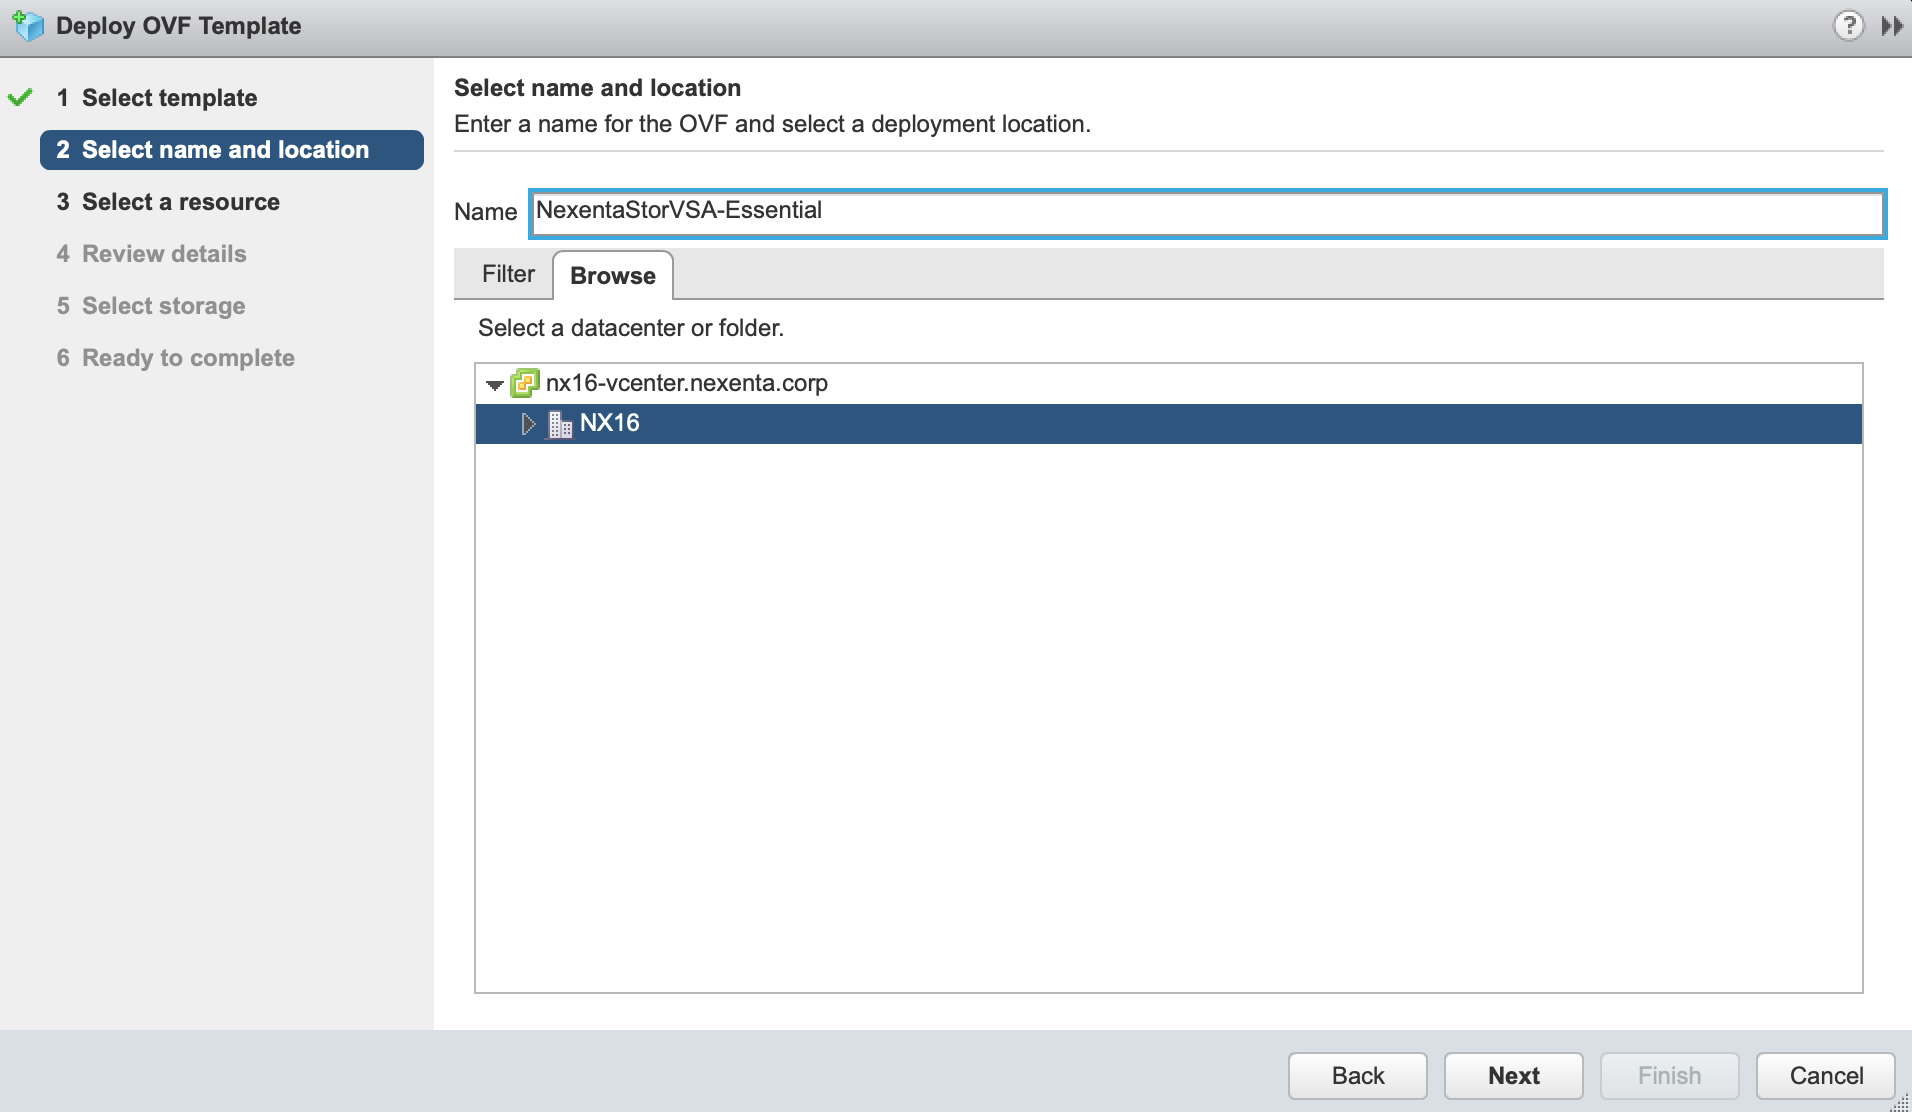
- Pick a name your Virtual Storage Appliance and then choose a folder.
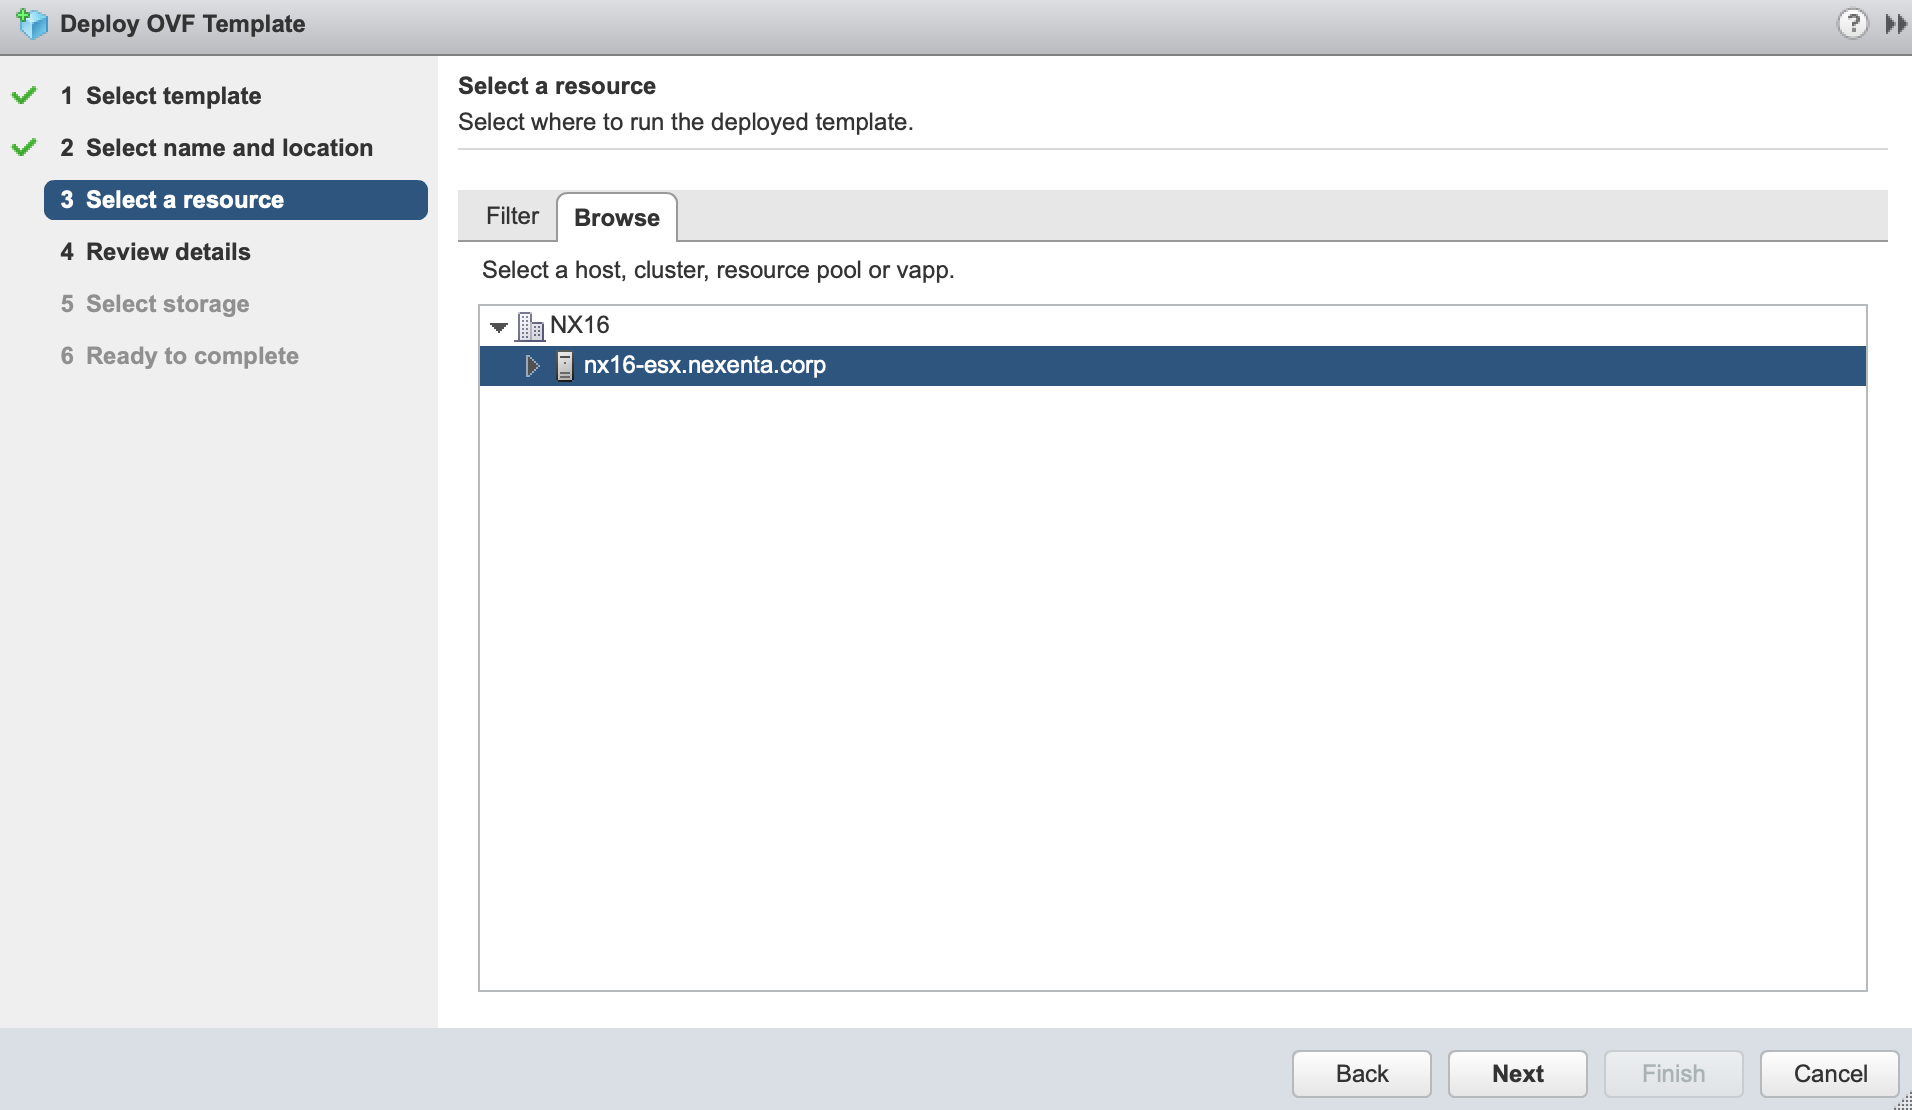
- Select where you want to run your VSA.
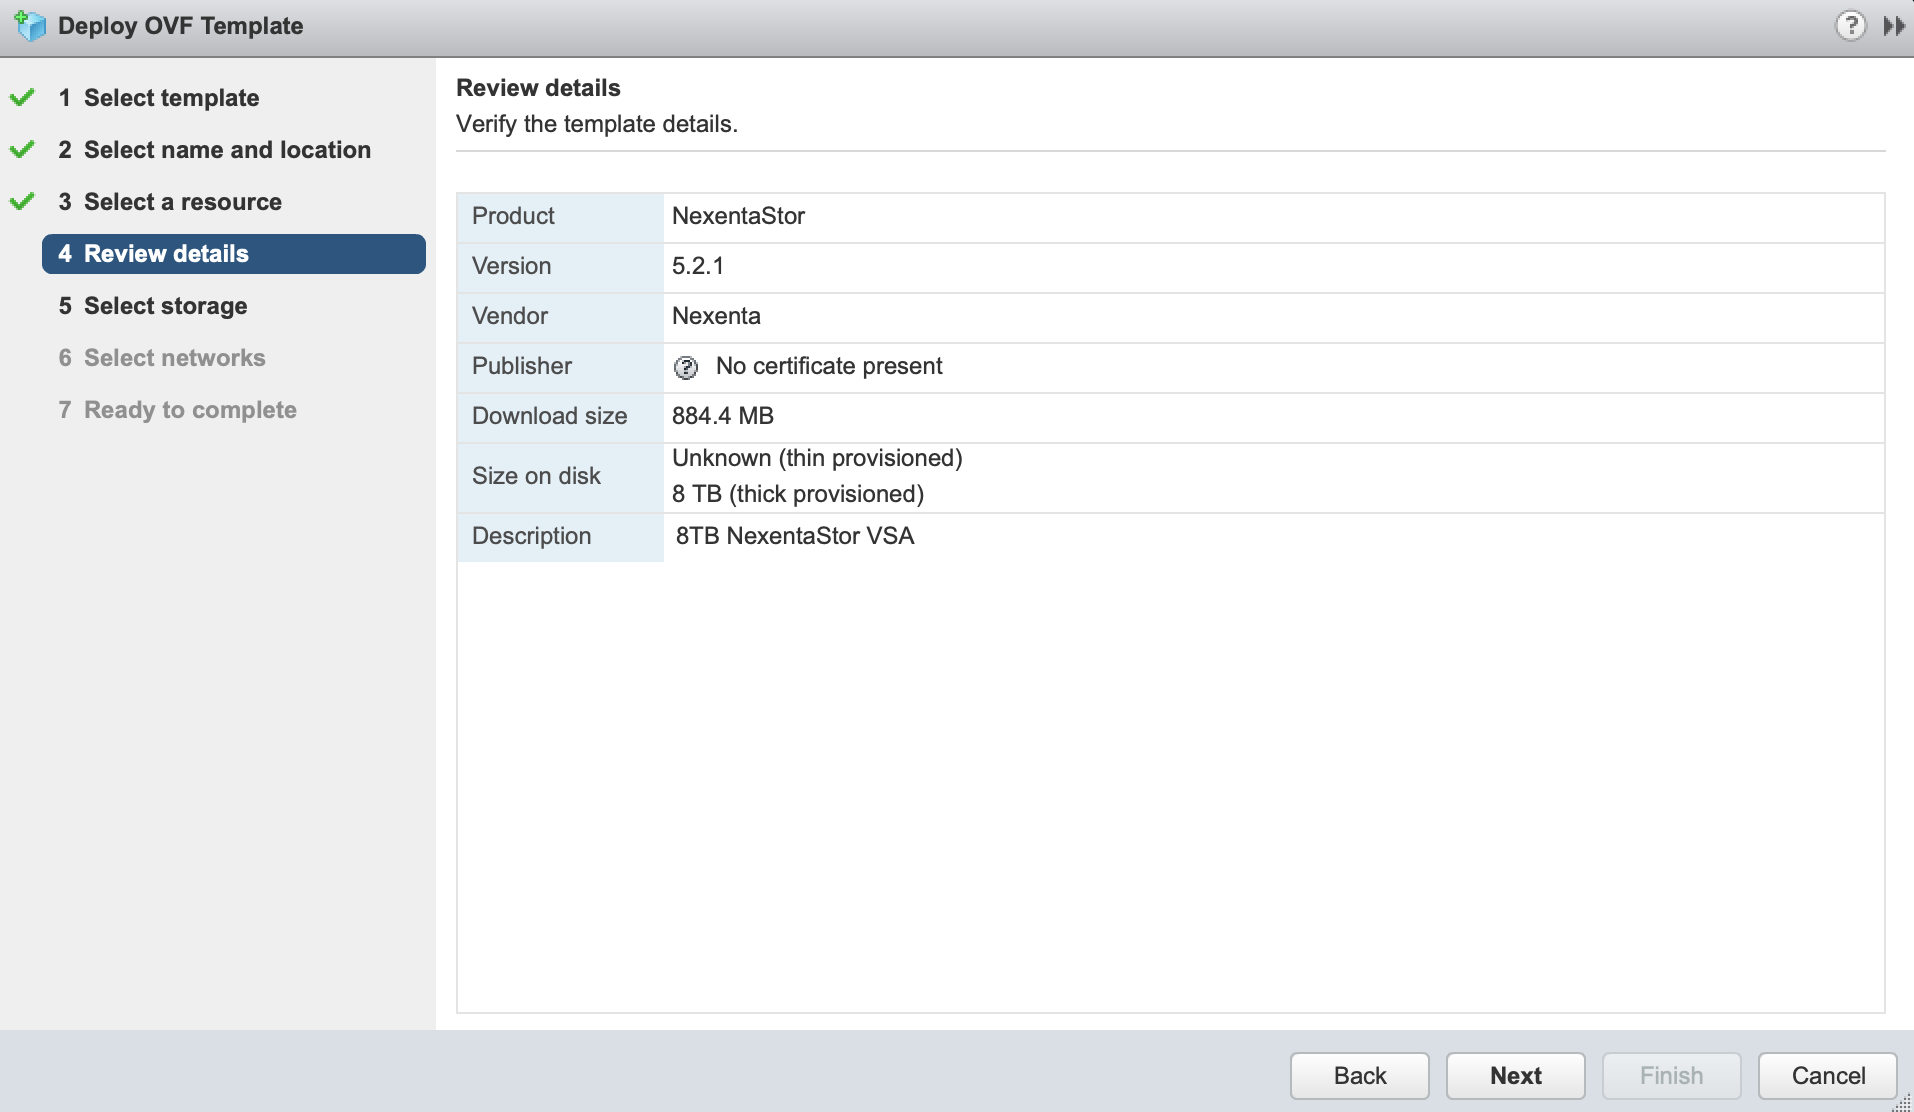
- Review the details.
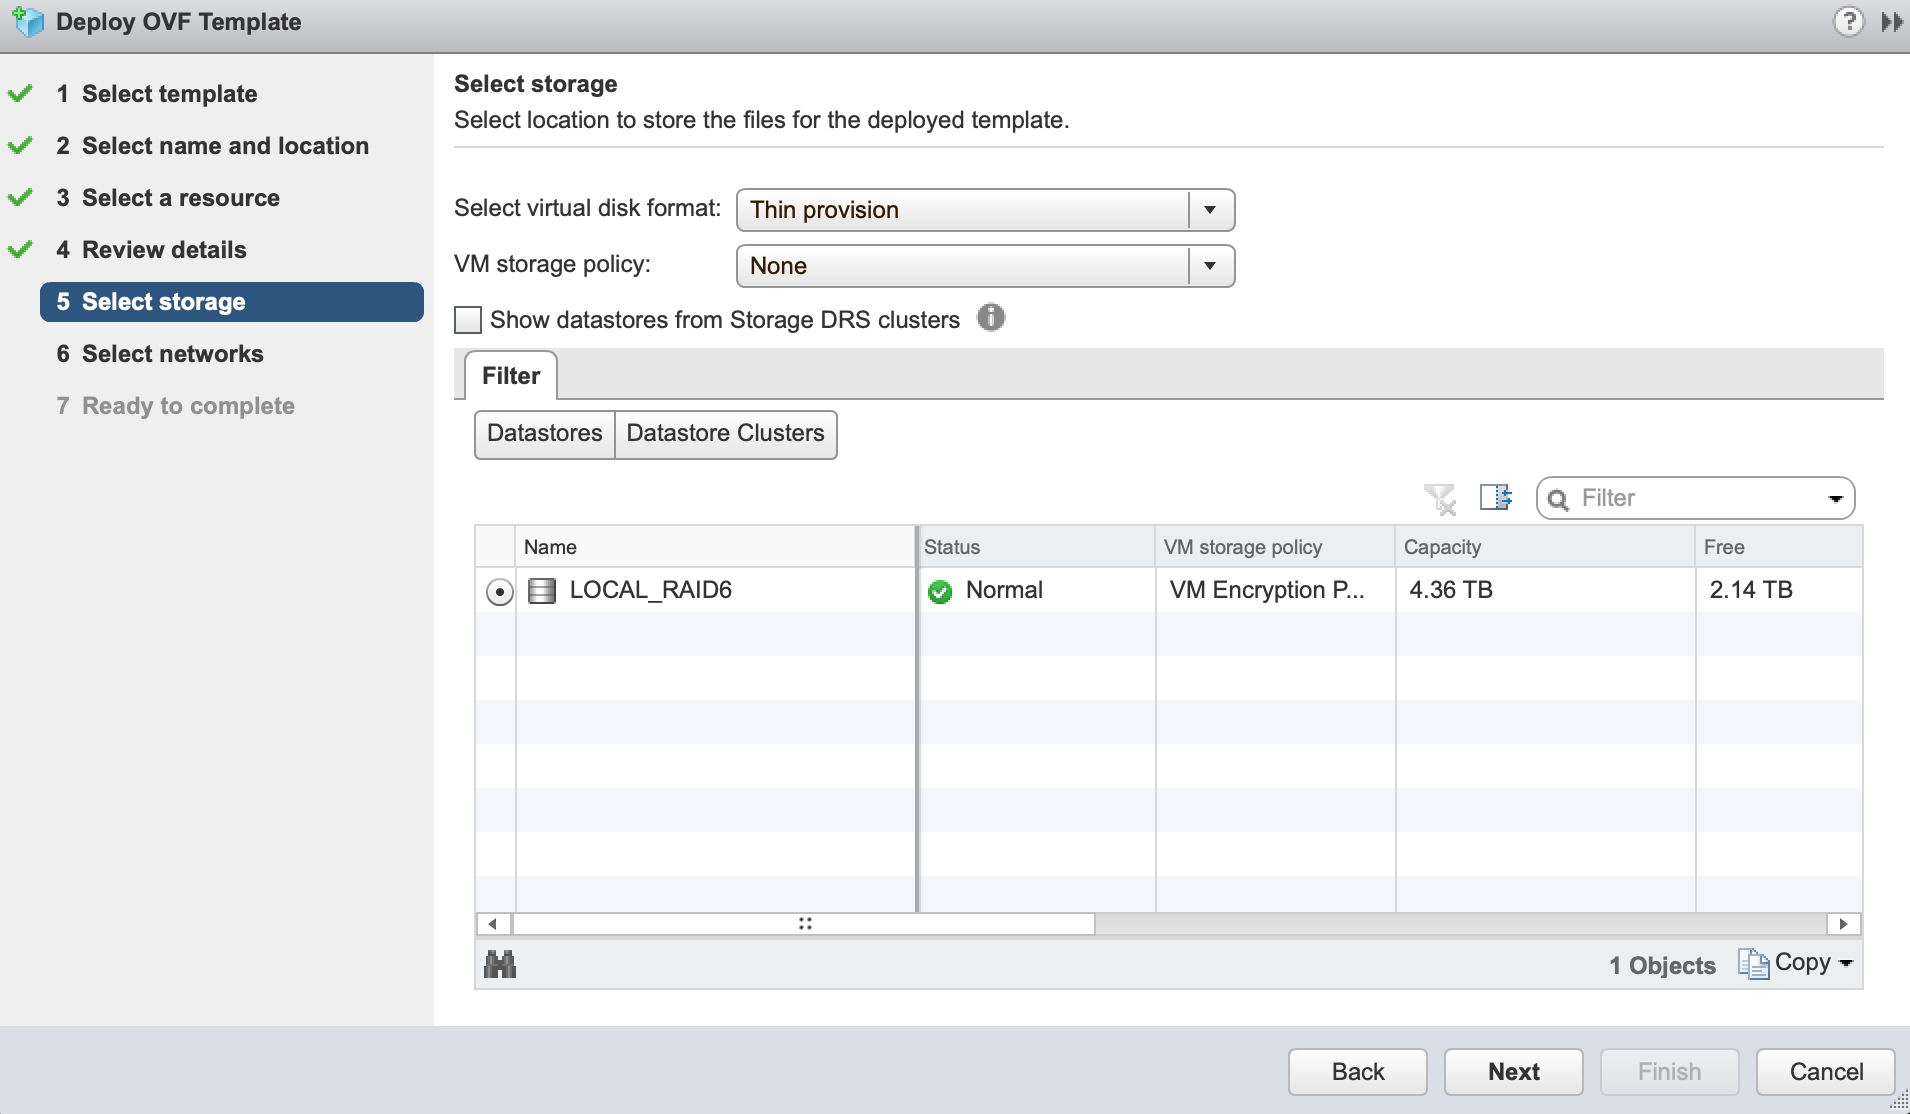
- Select a datastore, and the storage type.
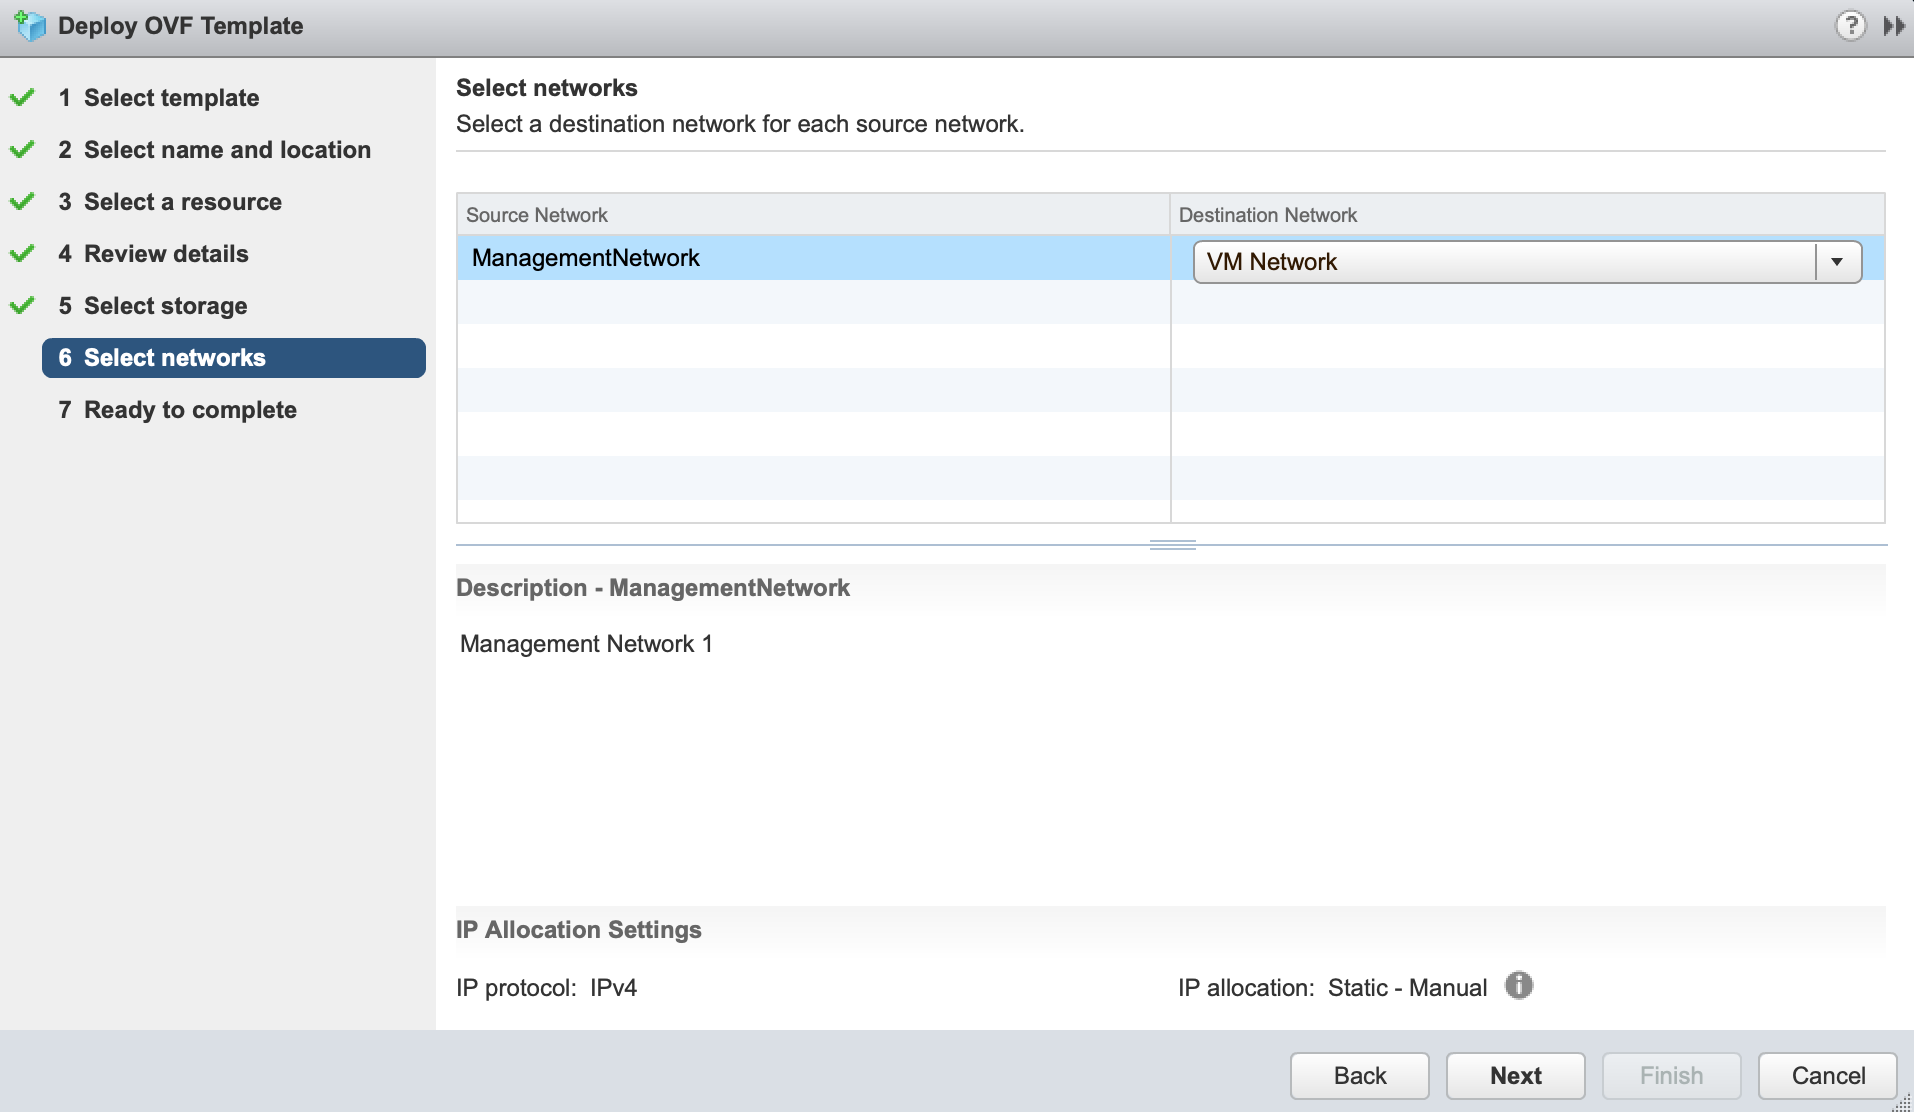
- Select the Network to connect to the VSA.
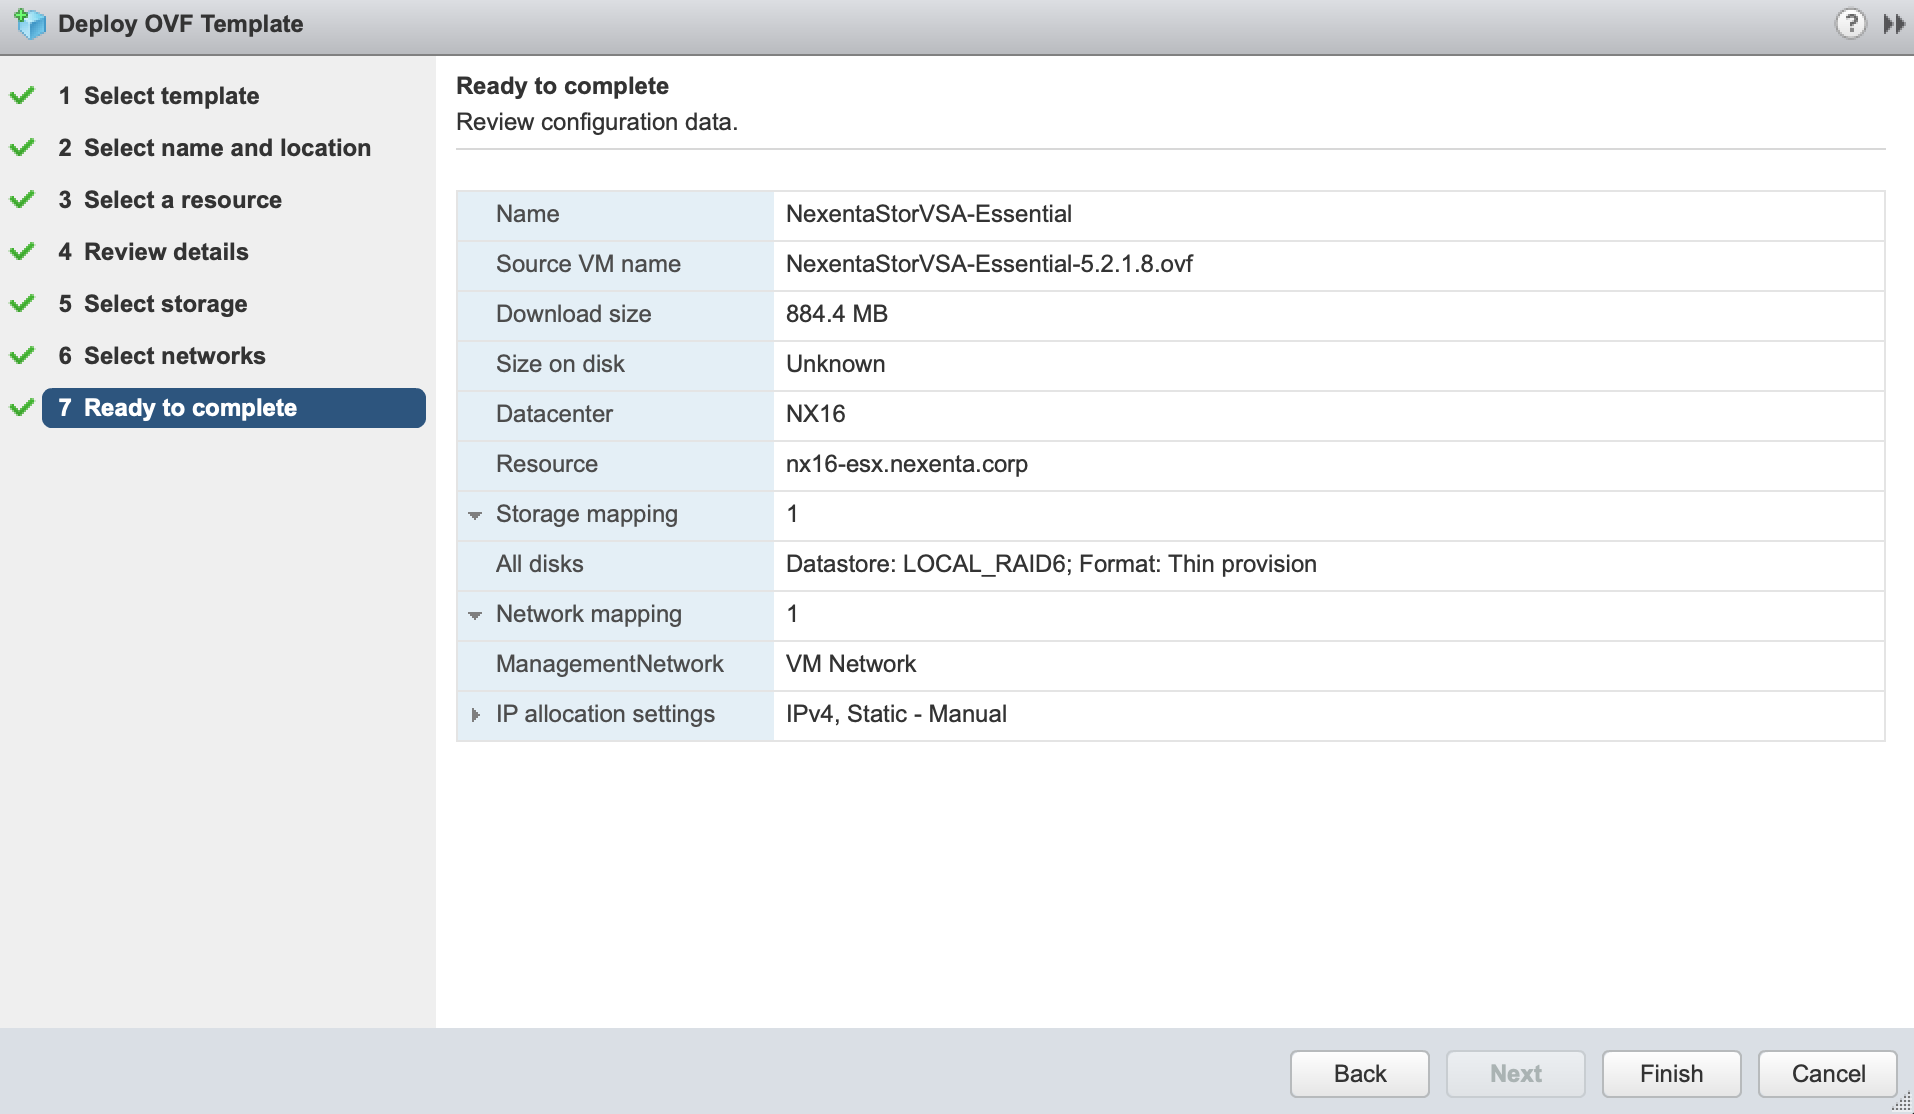
- Confirm the final details and click “Finish” to deploy your Virtual Storage Appliance.
When the NexentaStor Virtual Storage Appliance has been deployed by VMware, there are a few steps left to complete the setup. To perform these steps the administrator must login through the console using the default credentials:
- Username: admin
- Password: Psswd1234
- Run the system setupcommand to update hostname, change any network configuration and update your passwords.
- Add your license using the “license activate <token>” command.
Note that you can register for a Community Edition license at https://community.nexenta.com/s/community-edition, or request a free Enterprise Edition trial license: https://nexenta.com/downloads
- To use the preconfigured VMDK’s you will need to create a storage pool. Use the below command to create a pool named “tank”:
pool create-auto stripe tank -M 4
- The last step to give users access to the files is to create a filesystem and share it via NFS or SMB. This can be done through the CLI, throughNexentaFusion or through the NexentaStor vCenter Plugin.